Looking for fresh and fun ways to jazz up your pumpkin this Halloween? In Australia, families love putting their own spin on spooky traditions, and the Scout Elves are here to share some inspiration.
Straight from their North Pole workshop, they’ve put together a list of their favourite no-carve pumpkin decorating ideas. These are easy, low-mess and perfect for little ones to enjoy alongside parents.
Whether you’re decorating for a school disco, a neighbourhood Halloween party, or just a night in with family, these ideas will help your pumpkins stand out on the doorstep.
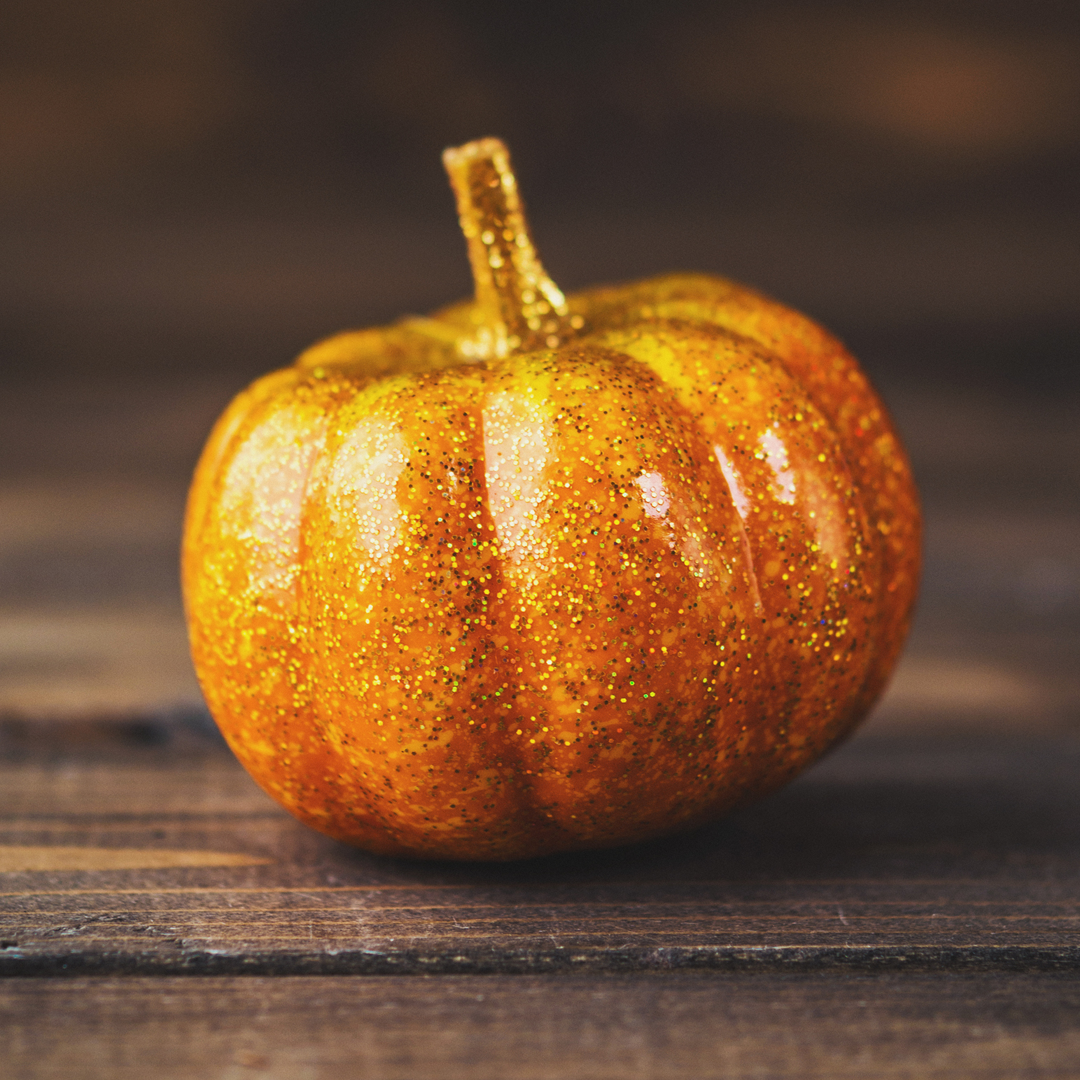
1. Glitter pumpkins
If you’re a fan of sparkle, glitter pumpkins will brighten up your home this Halloween. Choose classic orange glitter for a traditional look, or mix it up with silver, gold, and even green for an Aussie twist.
Coat the pumpkins generously and finish by painting the stalk to match. These dazzling designs look brilliant as table centrepieces for a Halloween party or lined up by the front door to welcome trick-or-treaters.
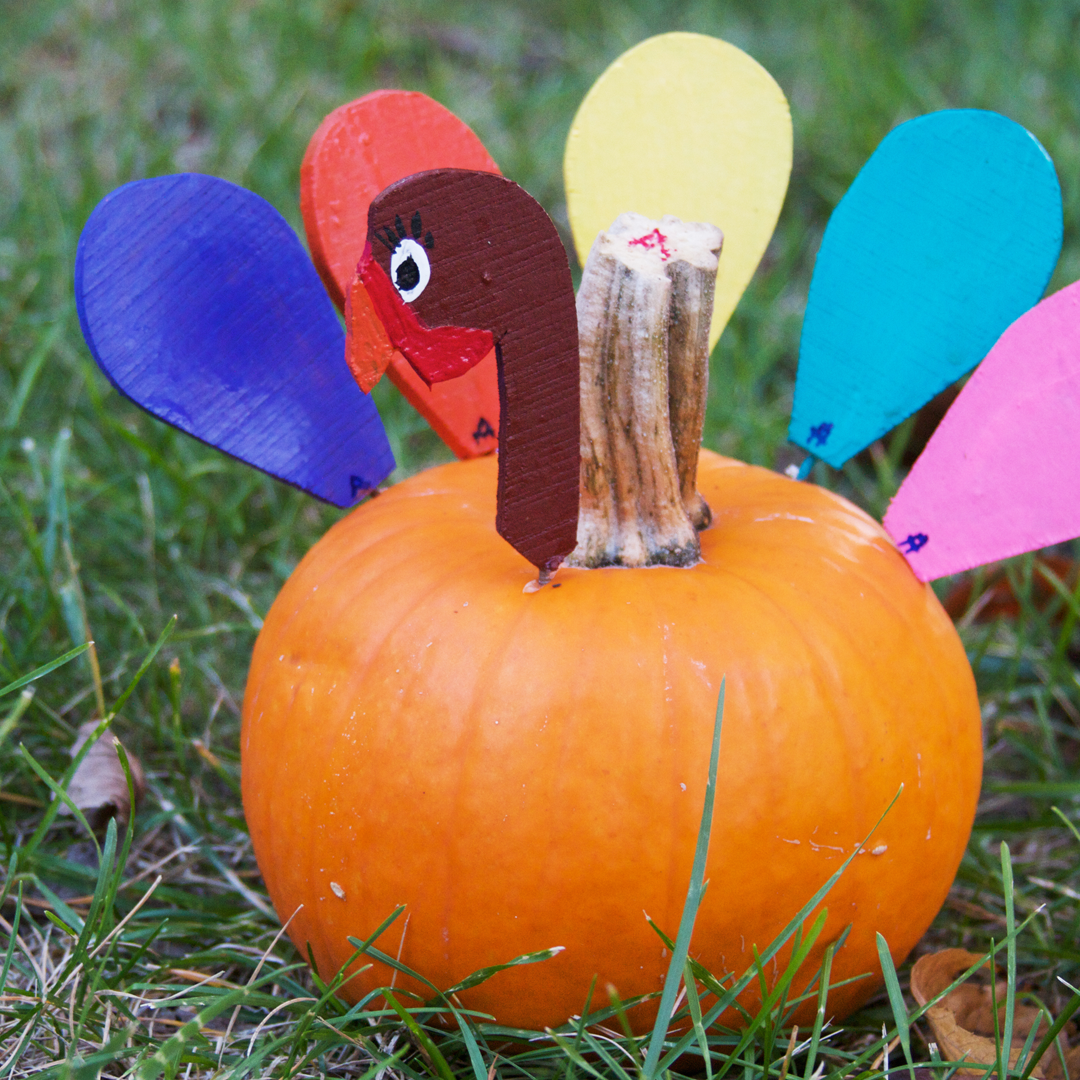
2. Accessorise!
This is a true family activity where everyone can join in. Gather up feathers, foam shapes, ribbons, googly eyes or even some leftover craft supplies from school projects. With PVA glue at the ready, let kids and adults create unique, funny or spooky pumpkin faces. You could even theme your pumpkins — one dressed as a witch, another as a superhero. The more creative, the better!
3. Pour art
Want something a little more eye-catching? Try pumpkin pour art! Pour paint onto the top and let it drip down the sides for a colourful and gooey look. Use different shades of orange, purple and black for a spooky vibe, or rainbow shades for a fun family-friendly display. Once dry, you can add a second or third layer for extra effect. It’s messy fun, but worth it for the wow factor.
4. Stencils
For neat and tidy designs, stencils are a fantastic choice. You can find loads of free templates online, from spiderwebs and bats to Aussie favourites like koalas or kangaroos in costumes. Trace with pens or fill in with paint for a polished finish. These pumpkins will have the neighbours stopping by to admire your handiwork.
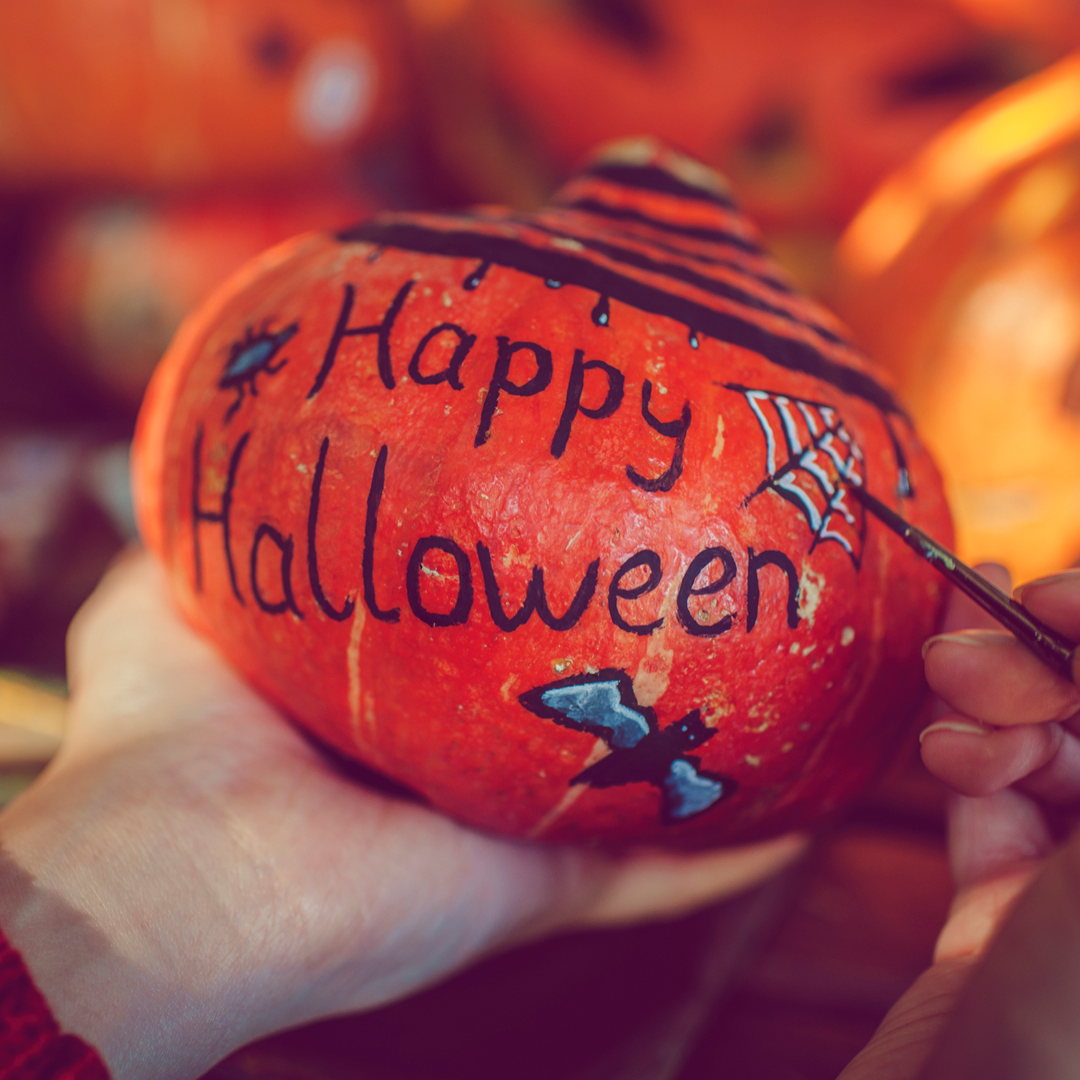
5. Halloween words
If you love lettering, this one’s for you. Start by painting your pumpkin a bold base colour like black or white. Once dry, use metallic pens to write fun Halloween phrases like ‘Trick or Treat’, ‘Boo!’, or even ‘Happy Halloween from Down Under’. You can personalise with family names or favourite sayings for a truly one-of-a-kind pumpkin.
6. Decoupage
For those who enjoy getting hands-on, decoupage is a brilliant option. Cut out pictures from old magazines, wrapping paper or even leftover footy posters, and glue them onto your pumpkin. Layer up to create a patchwork look or stick to a theme. It’s a fun way to recycle and makes each pumpkin a unique work of art.
7. Ombre pumpkins
These pumpkins look impressive but are easy to create. Use two or three paint colours and a sponge to blend from light to dark. For a Halloween twist, try orange fading into black. For a springtime Aussie touch, experiment with pinks, purples and blues. The finished pumpkins look striking indoors or out.
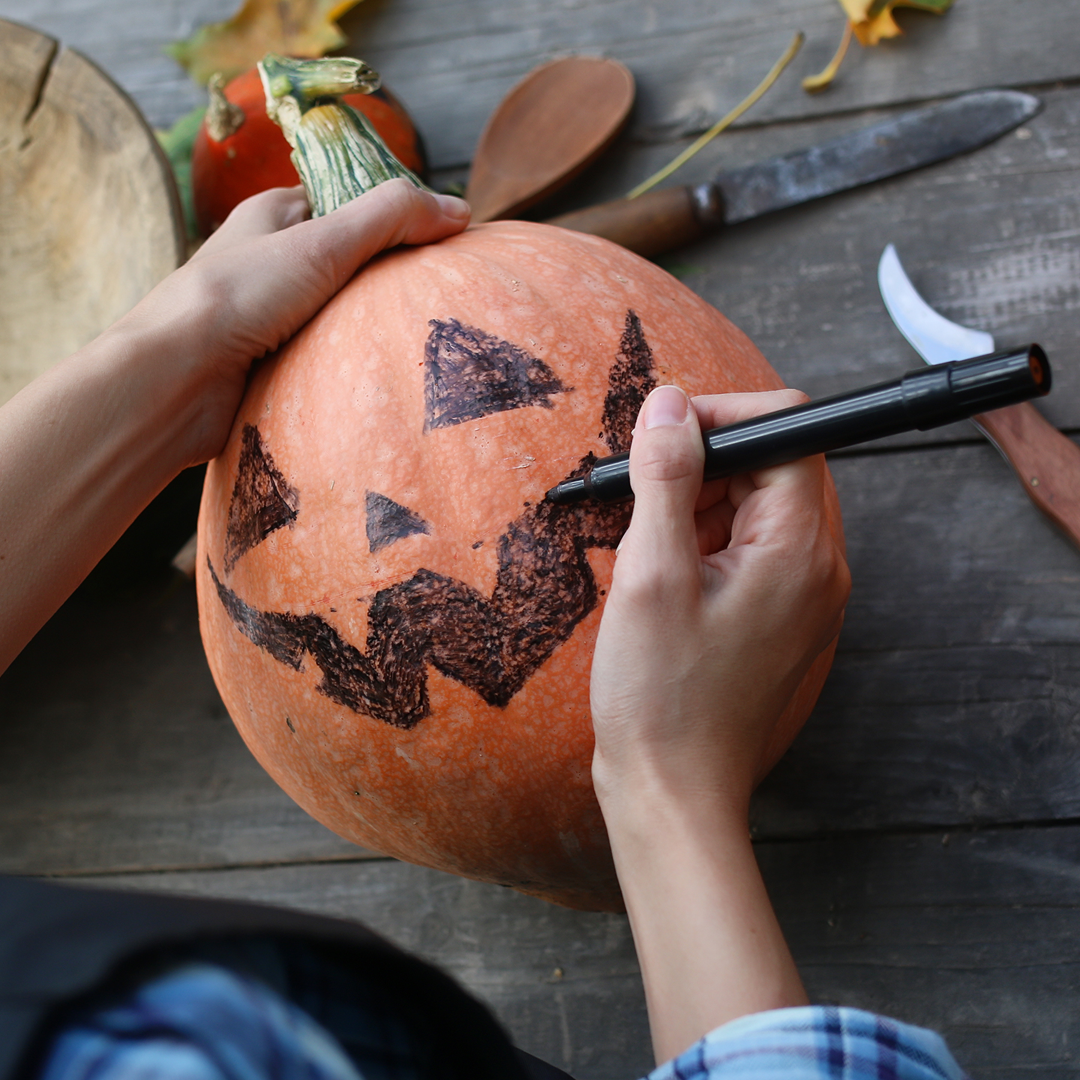
8. Doodling
Turn your pumpkin into a doodle pad! With permanent markers, kids can draw silly faces, creepy crawlies, or even footy-inspired designs. It’s low mess, quick to set up, and gives everyone in the family a chance to add their own creative mark.
9. Freehand painting
Let your imagination run wild with freehand painting. Your pumpkin becomes a blank canvas — perfect for creating spooky faces, Halloween night scenes, or even Aussie-inspired designs like a haunted Sydney Opera House. The Scout Elves sometimes paint Christmas scenes for fun, proving pumpkins don’t have to be limited to Halloween themes!
10. Geometric patterns
Grab some masking tape and create bold shapes. Triangles, zigzags, diamonds — anything goes. Once taped, paint each section a different colour for a bright and modern look. Stick to two shades for a simple finish or go wild with the whole rainbow. These pumpkins look great as a cluster on your porch.
11. Chalk paint
Chalkboard pumpkins are perfect for families who like to change things up. Cover your pumpkin with black chalk paint, then write or draw different designs throughout October. One day it could say ‘Boo!’, the next day it could feature a spooky spider or even a friendly message for trick-or-treaters. Kids will love taking turns adding their own artwork.
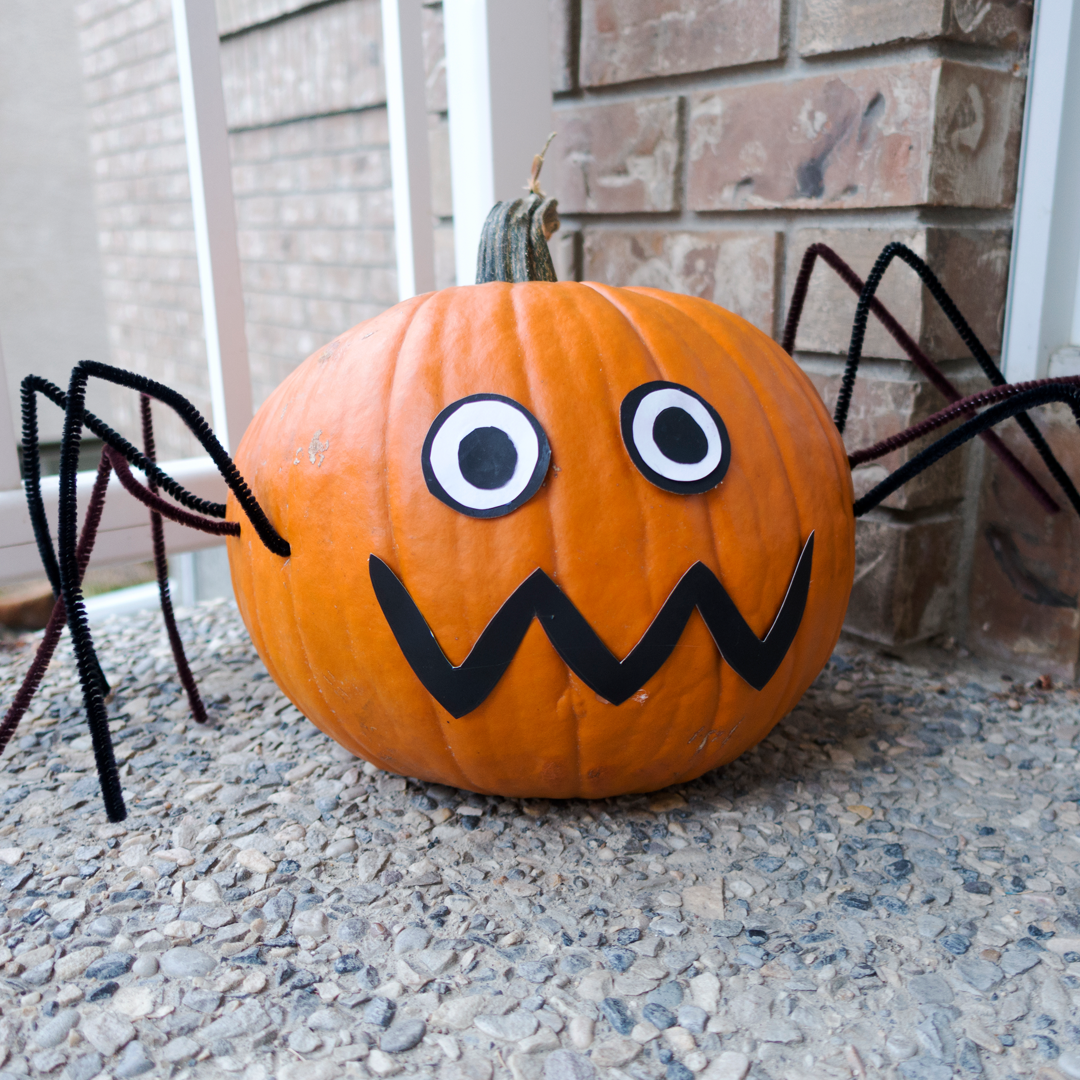
12. Pumpkin animals
Pumpkins don’t just have to be scary! Use their round shape to create animals instead. Add ears and whiskers to make a black cat, wings for a bat, or pipe cleaners for spider legs. You can even create Aussie-themed pumpkin pets — think a kookaburra or a kangaroo. These fun characters are guaranteed to get attention at any Halloween party.